The last finishing touch on my Dogwood sheath was a dangler attachment. Now it can be worn regular on the belt, dangler style, or scout style with the straps. Here is the finished product with some extra shots of the Turley Dogwood.
Monday, September 8, 2014
Turley Dogwood- First Leather Sheath Build
I've had the great opportunity to own a Turley knife for almost a year now and was patiently waiting to have a custom sheath made for it. Now that I am in love with leather working, I figured why not just make my own. So here it is, my first sheath build for my Turley Dogwood bushcraft knife.
It's made from 8 oz veg tanned leather, dyed mahogany, treated with beeswax. I installed two scout straps for adding future accessories(ie, tool pouch,fire-steel holder, etc). It has been wet-formed around the knife and has a really snug fit. It has solid brass hardware and will have a matching dangler attachment.
I forgot to snap any pics early in the project...but here it is with the first coat of dye, punched, and ready for the welt to be glued in.
Test fitting the scout straps.
Ready for beeswax..
Here is the finished product all waxed up. Now I just need to finish my dangler attachment.
It's made from 8 oz veg tanned leather, dyed mahogany, treated with beeswax. I installed two scout straps for adding future accessories(ie, tool pouch,fire-steel holder, etc). It has been wet-formed around the knife and has a really snug fit. It has solid brass hardware and will have a matching dangler attachment.
I forgot to snap any pics early in the project...but here it is with the first coat of dye, punched, and ready for the welt to be glued in.
Test fitting the scout straps.
Ready for beeswax..
Here is the finished product all waxed up. Now I just need to finish my dangler attachment.
Sunday, September 7, 2014
Black Forest Bushcraft Journals
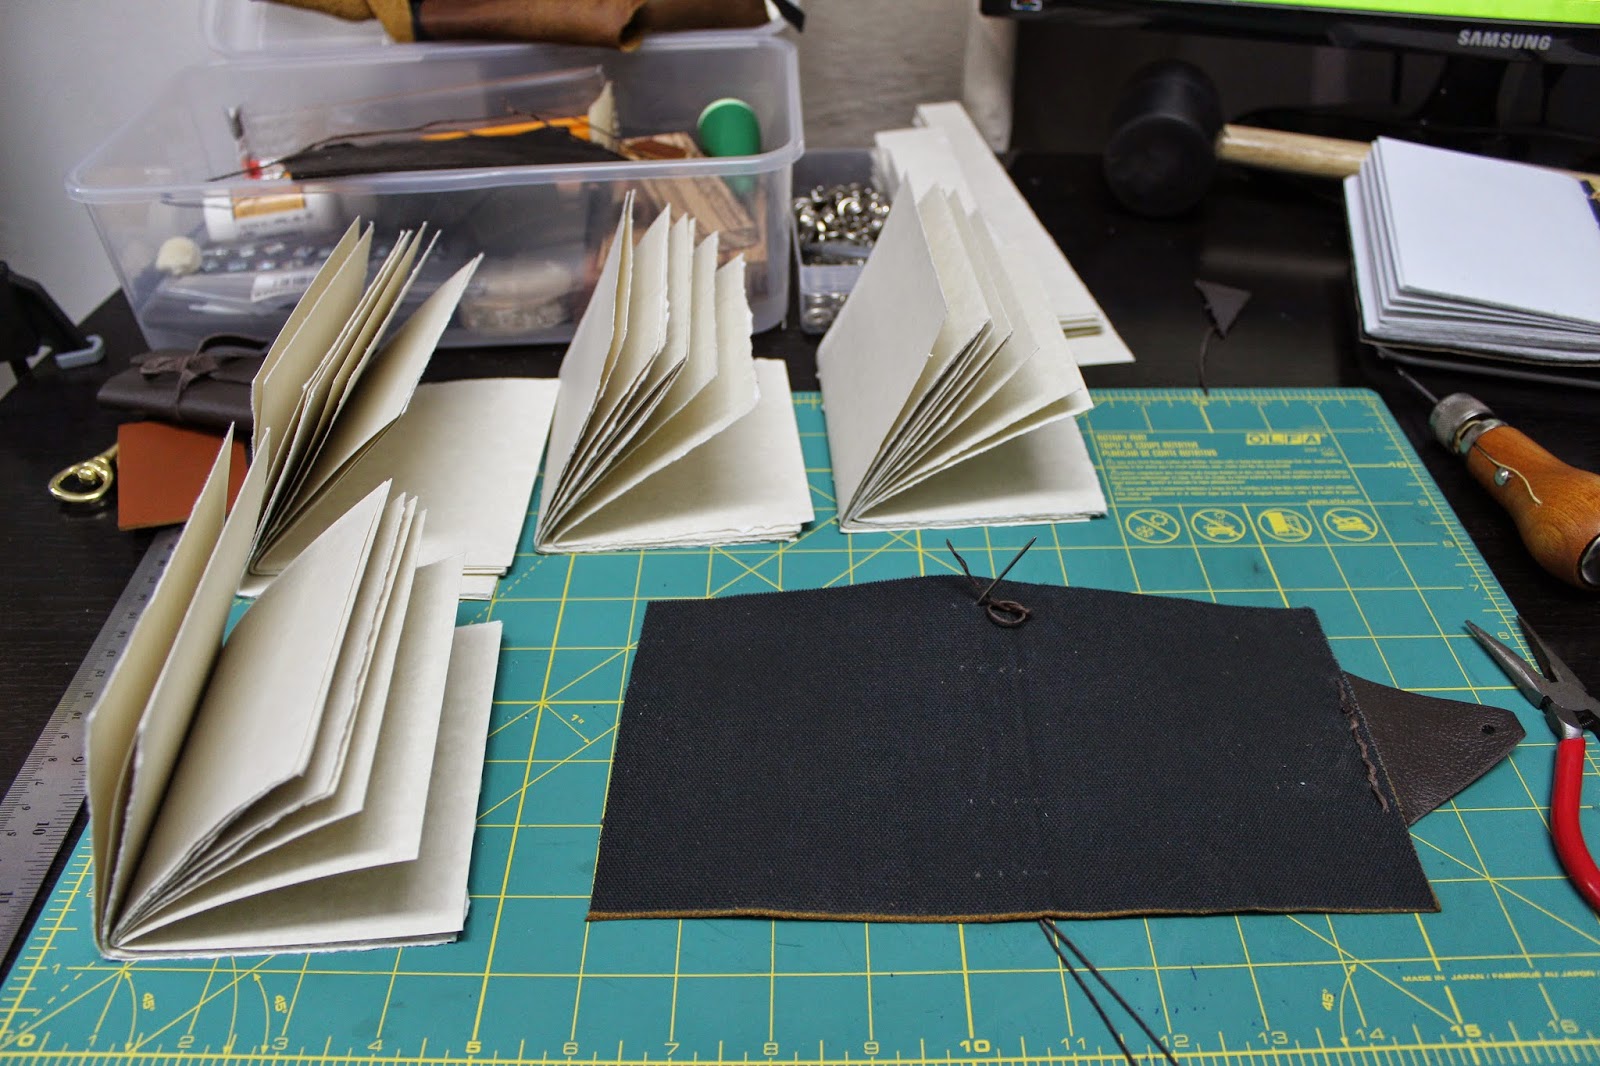
I have recently been getting into leather working, among other things and one thing I particularly enjoy is making journals. I have long been a lover of leather journals and capturing important moments in time. I think that the outdoors and writing really go hand in hand. It doesn't have to be a fanciful story, but can just be your thoughts on paper about the beauties of nature. There is just something special about writing in a handcrafted book, it seems to bring forth from the soul.
This journal is made with a lovely vintage brown leather, which is backed with a black canvas backing. It has 80 hand torn pages of natural vintage washed cardstock(65lb), formed into four signatures. This paper not only gives it a really nice old and worn look, but is perfect for writing, drawing, scrap-booking, etc.. It is bound by the long-stitch binding technique, which is from the 18th century. It has a two tone finish with a brown snap cover. This journal and many more, that are in the works, will be for sale in the Black Forest Bushcraft store very soon.
Saturday, August 30, 2014
Forged Puukko With Birch And Leather Stacked Handle Project Part 2
Ok, so after a good while profiling on the grinder and a couple hours of hand sanding, I think I might be happy with the handle. I applied some leather conditioner to the stacked leather and Tru-Oil to the birch. Once the conditioner was dry, I hit the leather with some Tru-Oil as well. I'll probably do a couple coating over the course of the next few days, letting it dry in-between. Overall I am happy with the look so far.
I ended up adding a finger groove in the front for better grip.
Here is the leather with one coat of conditioner.
Here she is with the Tru-Oil applied, very pleased with how it turned out!
I ended up adding a finger groove in the front for better grip.
Here is the leather with one coat of conditioner.
Here she is with the Tru-Oil applied, very pleased with how it turned out!
Friday, August 29, 2014
Forged Puukko With Birch And Leather Stacked Handle Project Part 1
For years now, I have been fascinated with knife making. This is more than likely due to my lifelong addiction to knife collecting, usage, etc.. So recently I acquired some Puukko blades of various sizes and figured that this would be a good start to my knife making dreams.
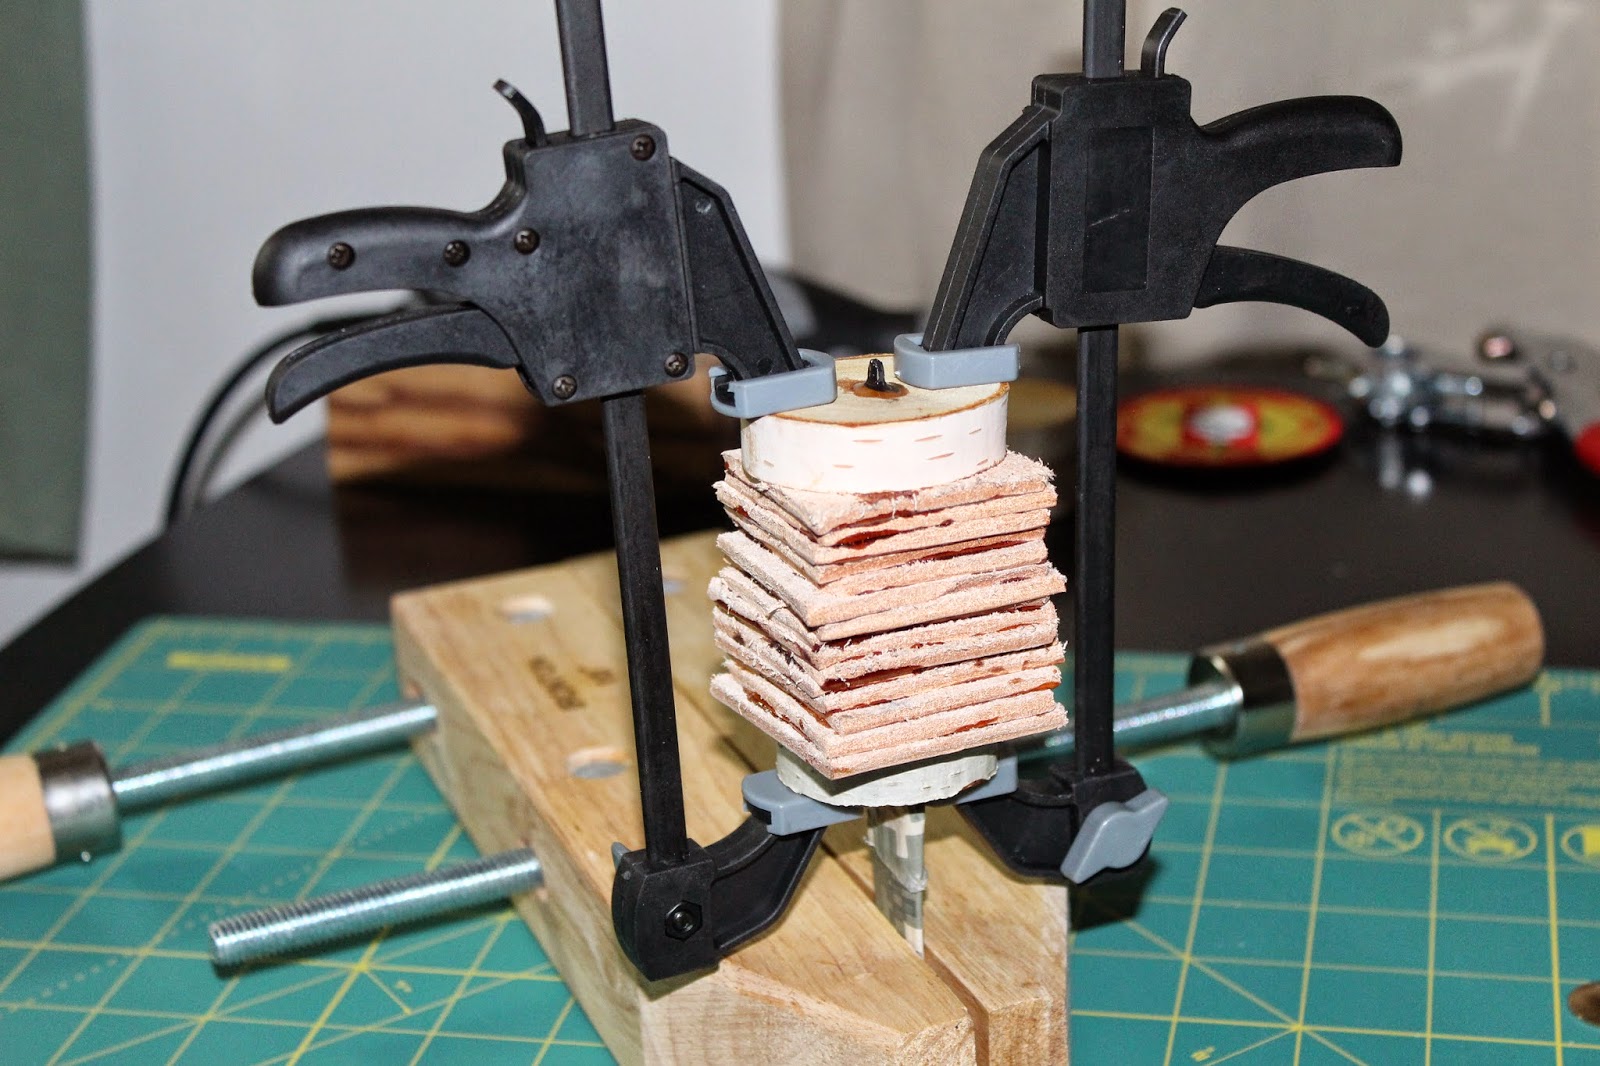
First up is the little guy with a 2.25 inch blade. This one is getting birch at the top and bottom, with leather stacked in-between. Killing two birds with one stone here, cause I've always wanted to do a leather stack handle on a knife. I used thick 8-9 oz. veg tan leather cut into squares
Test fitting the leather
Cardboard and camo ducktape blade guard
Here it is all glued up with Gorilla 2 part Epoxy, I ended up adding another clamp on to make sure it was good and tight. I let this dry for 48 hours.
Now I get to use my new 1x30 belt grinder, works good for $44!!
Coming along..
Here it is with a basic shape ruffed out. Detail work from here on out and some hand sanding to finish it up.
To Be Continued......
First up is the little guy with a 2.25 inch blade. This one is getting birch at the top and bottom, with leather stacked in-between. Killing two birds with one stone here, cause I've always wanted to do a leather stack handle on a knife. I used thick 8-9 oz. veg tan leather cut into squares
Test fitting the leather
Cardboard and camo ducktape blade guard
Here it is all glued up with Gorilla 2 part Epoxy, I ended up adding another clamp on to make sure it was good and tight. I let this dry for 48 hours.
Now I get to use my new 1x30 belt grinder, works good for $44!!
Coming along..
Here it is with a basic shape ruffed out. Detail work from here on out and some hand sanding to finish it up.
To Be Continued......
Subscribe to:
Posts (Atom)